Wednesday 25 December 2013

Horsehair Necklace, 'Clover' Design

When I first started out making bracelets I had in mind to try doing a necklace. The thinking was, it would be lovely to have a bracelet and a matching necklace to wear.

The first few necklaces were quite successful but short. Even using the longest lengths of hair the finished necklace lacked the length I and many people like to wear. I knew that one day I would work through how to join braids together and create designs that work.

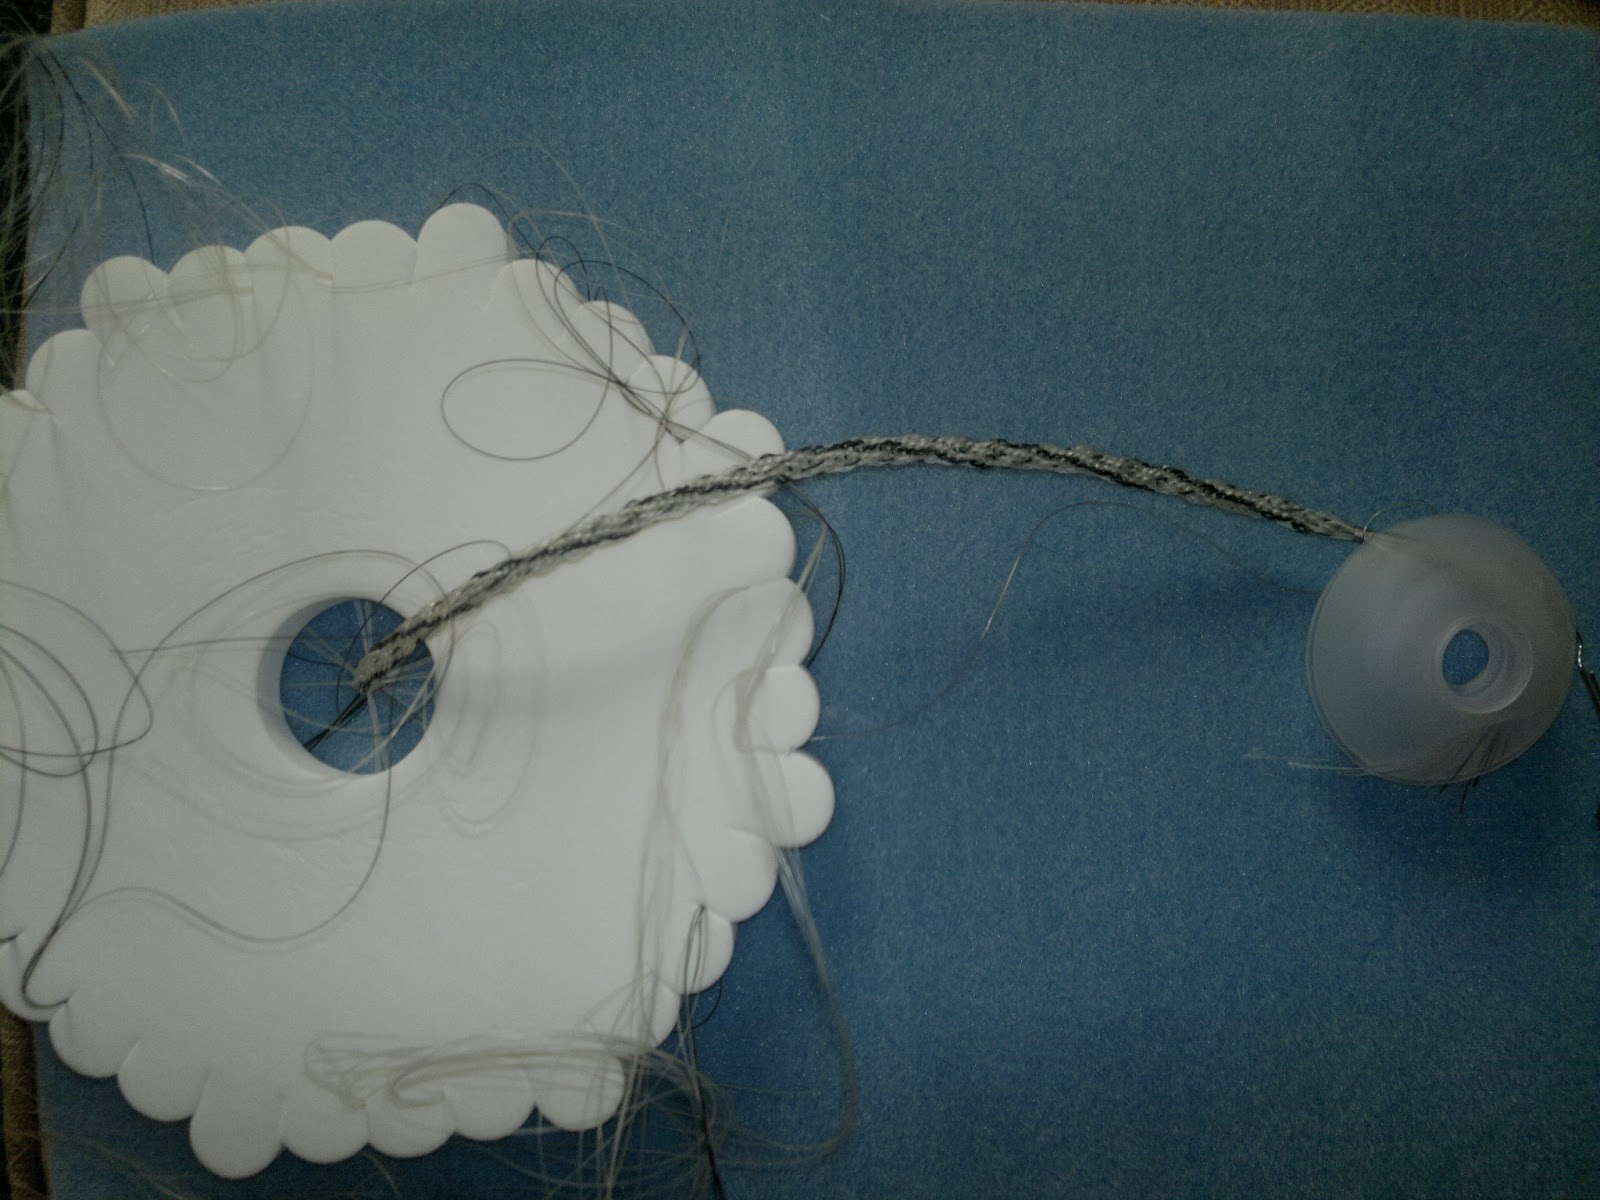
Here is the first of the designs. There are three braids, joined with sterling silver ends. The middle braid has two pretty spacer beads to add interest.

The hair used is from our lovely Fell Pony Drifter who succumbed to laminitis this year and new horse, four year old Charlie. Charlie's hair has kinks in it which give the braid an individual look. The natural kinks made the hair more difficult to control when braiding but with an even tension, the braid pattern is maintained with just an odd bend here and there caused by the kinks in the hair.

Each braid is slightly shorter than an average bracelet braid which means the shorter lengths of hair can be used on a project like this.

All of the braids were made using a 16 warp kumihimo design with approximately 6 hairs per warp.


Wednesday 18 December 2013

A horsehair bracelet as a perfect Christmas gift

HAPPY CHRISTMAS EVERYONE!

Isn't it exciting to open presents and find one that is just so special and personal? I have been busy working on more designs and finding out ways to make things easier to do. Finally I am making something for me. It is a necklace and the first of three braids is completed. The silver ends arrived today. They are pretty crimp ends which I am starting to really like. They look good and hold the hair well.

The necklace will be a present to myself after a year of trials and tribulations. I may even wrap it and put it under the tree to make it extra special!

When Christmas Day arrives I know that there are some young ladies who will be opening a very special present they can treasure. That makes me very pleased and proud even, that this project has come so far in quite a short time.

Here is a recent bracelet from the tail of a lovely pony called Polly-Belle.

You can see the crimp ends I mentioned earlier. The clasp is a pretty heart shaped lobster clasp.

If you search a while you will find the ends and fastenings that catch your eye.

This bracelet has a small chain to allow it to grow as its owner grows up.
Polly Belle

I hope you all enjoy the holiday season. Soon I will post about the new necklace designs I am working on right now


Saturday 16 November 2013

Bracelets from Gullberi and Glampi

Today I want to tell you about a recent project, making bracelets for mother and daughter from tail hair of their stunning Icelandic horses, Gullberi and Glampi who live in Scotland.


You can see here how lovely these two are. The hair of both horses was beautiful, with a range of colours. The bracelets were made using both sets in the weave. That is eight warps each in a sixteen warp braid.


Here the clasps are different to the ones I've used previously. The ends are sterling silver and the clasps, Tibetan silver.
Lighter hair does seem to be a little more thin than darker hair and so I used seven hairs per warp of light hair compared to five of dark in each warp. Working out just how many to have in each group or warp comes with experience, but don't worry, it is actually quite hard to tell any difference. 

Some people are quite surprised when they feel the texture of the bracelet. A friend recently commented she thought that something like nylon was added. It wasn't at all. It is all 100% horse hair. It holds together very well when used in Kumihimo creating a lasting, durable piece of jewellery to wear.


Friday 8 November 2013

Feedback Request

What would you like to see more of in this blog?

Please join in with letting me know what information you want to see on this blog. You can either  contact via the comments box below or click on this link, 'like' the page and respond to the poll.

https://www.facebook.com/groups/208785885949358/


Thursday 7 November 2013

Horses Past and Present: a new bracelet

It is that time of year again when I make something for my daughter to wear. This year has been bitter sweet, with our lovely, loyal Fell pony Drifter being put to sleep on the one hand. On the other the arrival of Charlie, a young horse with such a lot to learn.

This latest project started as an experiment with the intention of producing three strands, two from one horse and one from the other. One strand has four Tiger's Eye beads threaded onto it. One for each year of Charlie's life. The strands are all joined together and are loosely entwined.

Drifter greeting a llama and Charlie saying hello to a cow


Saturday 19 October 2013

Starting a Bracelet or Necklace


My nephew is an airline pilot. Apart from the pre-flight checks and ensuring all is well during the flight, the take-off and landing are the really important bits to get right!

So once the horse hair has been threaded onto the kumihimo loom, the start and finish are the really challenging bits.

In each warp in the picture here are 9 horse hairs. 9x8=72. That is, 72 horse hairs to keep control over as the braid starts to be woven and 72 hairs to maintain the tension in as the braid develops. Once the braid gets going though, the process is much easier.

To make things really easy, I have a vase so I can place the disc down whenever I need to. That way, nothing slips or gets dislodged.


To help keep tension in the braid you can use a plastic bobbin to hold the end of the hair plus attach a weight to this also. I use a key.


Always start on either side of the dots.


Start moving the strands of hair from lower left to upper left followed by upper right to lower right.


Once the upper and lower warps have been moved the disc is turned ( turn clockwise, but it doesn't matter, so long as you always work in the same way)

You then move the next four warps in exactly the same way.


Once done, all of the warps will have moved one place to the left (or right depending on how you are moving, clockwise or counter clockwise)

Now you continue until you reach the length you are looking for in the braid.


Braiding takes a long time. To braid a bracelet it can take several hours. You will want to put down your work at some point and when you do, if you leave your work part way through a move, you will instantly know where to pick up from.

Here the bottom left warp has moved to the top left. Now you can go and have a coffee and do other things. When you return, you will know that the next move is upper right to lower right.

Finishing a Bracelet

Finishing a bracelet can be one of the more difficult parts of bracelet making. Provided you take your time and use the right tools for the job, it will work out fine.

Tools for tying off a horse hair bracelet
When finishing a bracelet I like to work on a tray. On the tray I have kitchen towel and sometimes a piece of material used for working with beads. That way, things tend to stay put and not slip about when you are trying to work.

What you have on your tray when removing the work from the kumihimo disc is some strong cord, glue, scissors and the work itself.

Tying off a finished design

Here is a sequence of photos where a bracelet has been tied off tightly with cord and glued to make the horse hairs stay in place.

The cord is tied around the work before it is removed from the Kumihimo disc.


Adding some glue to help the hairs remain in place


The ends are trimmed so they can fit into the chosen end cap and more glue is applied.


Shortening a braid


This braid is too long. It was originally supposed to form a Celtic knot but it was later decided to make just a bracelet. So now a knot is tied where the bracelet is to be cut.


The braid is carefully cut and the woven ends unravelled.
Braided horse hair comes undone easily which can be a good thing because you can start over if you make a mistake and the horse hair should be fine.


 As with the other end of the bracelet, it is prepared for the end cap to fit over neatly and glued in place


Both caps are now attached


The End Result!
Once the end caps are dry and set you can add the jump rings and lobster clasp to finish.

Friday 23 August 2013

Starting your bracelet: fixing the end

Most Kumihimo guides tell you to tie a knot in the end of your work and attach a weight to that end, while you begin to braid the strands.

With horse hair this is difficult because you lose valuable hair length in the knot.

After making many, many bracelets now I have found that the best way to tie both ends it to do the following:

Once you have the hair where you need it to be on your kimihimo disc, gather it on the underside where the braid will be formed. At the point where you want the braid to start you can place some glue on the hair. I use E6000 or superglue.

Now get some thread tie a small knot then wrap it around the hair on top of the glue. You can knot it a couple more times then leave it to dry.

When dry, the end of the braid will be secure enough to start braiding and you can attach a weight with a paperclip or bulldog clip to help maintain tension in your project.

In this photo you can see a close up of an end, glued and tied. This will hold the bracelet together and at the finish you can trim the glued end to the length you need to fit your end cap or crimp finding,

Here is a video showing you how hair is sorted and fixed for a 12 strand rounded flat kumihimo braid


A new place to discuss your projects!

So many of you have contacted me to ask questions about making bracelets. It is lovely to hear from you and I am so pleased that you are trying things out for yourself.

I am about to post some short cuts and tips I have learnt over the past year which I hope will help those of you struggling to get the length right or to make the most use of the length of hair available to you.

Thinking it would be good to talk more and share projects, I have set up a group on Facebook. Just look for The Horsehair Bracelet Project group and you should find it. It is a closed group so posts are shared within the group only.

I look forward to meeting you there in addition to the more detailed posts here.


Saturday 13 July 2013

Good News!

One of our friends is leaving the yard soon and I am working on making a special going away present for her. She is moving to Scotland and so we thought, why not make something from the tail hair of her two horses, but with a Celtic twist?

So the idea is that two braids will intertwine in a Celtic knot. Here is the first braid.
 
Both horses have very light hair. I hope to attach them in a Celtic heart design provided I can get the length I need. I will show you the finished knot soon.
 
It has been several weeks since I did any kumihimo. It has been good to get back into it again.
 
 
But that isn't the good news!
 
The good news is that we went to see a horse and knew he was right for us. He came to us last month as an untrained four year old. He is well on his way to a happy future as an all round riding horse.
Of course, it didn't go unnoticed that Charlie also had a pretty stunning tail. With a range of fabulous colours, you can bet those hairs will make a lovely necklace one day.
If you want to see more of Charlie you can find him here, https://www.facebook.com/CharlieTheWonderHorse


Saturday 29 June 2013

Kumihimo Spiral Necklace with Carnelian Beads


Find other pattern posts here


This is a necklace made using tightly braided horse tail hair (the longest lengths I could find) and carnelian semi-precious stones. As usual I used the kumihimo technique for the necklace and it turned out quite well.

I used a spiral 8 strand pattern with 3 tail hairs in each strand.

The hair was braided, then the stones were added then finished by braiding the other side of the necklace.

The tail hair is from our lovely Fell Pony who has now passed on.

Tuesday 26 March 2013

What size bracelet to make

Find other pattern posts here

Deciding how what width you want your bracelet to be...

When I first started making horsehair bracelets last year, one of the biggest problems I had was working out just how many warps were needed for the kumihimo bracelet and how many horse hairs needed to go into each warp.

If you get this wrong, the end result may not fit into the end cap or clasp.

I am going to try to make it easy for you to get it right first time by telling you about the various sizes of bracelet in the photo below.


So then, from left to right.


Bracelet 1: the thinnest bracelet (gold ends)

How long you make the bracelet is up to you, but I work on having the length of hair approximately three times the desired length of the final bracelet. Weaving the hair takes up a lot of length. The tighter the weave the more durable the bracelet.

This bracelet is a 16 strand kumihimo design. In each strand contains five hairs. This gives you a slim, dainty look.

Bracelet 2: the medium thickness bracelet (silver ends)

Here again is a 16 strand design. Each strand holds seven to ten hairs. The end cap for this bracelet is slightly bigger.

Bracelet 3: the thickest/widest bracelet (diamond pattern)

In this bracelet design there are 11-15 horse hairs per strand. That's a lot of hair to weave but the Styrofoam kumihimo disk holds the strands of hair together well while braiding.

Bracelet 4: the beaded bracelet

This bracelet is made from an 8 strand design with just three horse hairs per strand. Any thicker and it would be very difficult to thread and manage the beads, so the bracelets I have made have all followed an 8 strand (3 hairs in each) design.

How long does it take to make a bracelet?
People have asked me how long it takes to make a bracelet. From start to finish you can expect it to take up to seven hours on a spiral design. The more horse hairs you add,  the longer it takes to make the bracelet simply because it takes more time to sort the hair and hold it at the correct tension while braiding. If you have a complex pattern or bead design that takes time too.

Making a bracelet can be very relaxing and enjoyable and you probably won't notice the time passing by. Before you know it, you will be looking at the finished bracelet!


Tuesday 19 March 2013

Necklace project number four

Back to necklace making, using the longest strands of horse tail hair. Here is where I have struggled to come up with an effective way to attach several separate bits of work together, rather than rely on single lengths of hair. I have an idea but it seems I'd have to learn how to mould metals first.

Part of my idea was to have red and blue in the necklace. The necklace here is made from beads I bought at a recent fair. The seed beads are size 8 and the red and blue beads in the middle are 12mm.

As usual with necklaces, I have worked with 3x8 strands of hair. These had to be at least a metre long to accommodate the beads as they were woven on.
It has crossed my mind, why bother using horse hair at all given you can't really see it. But there is more to it than being able to see the horse hair. Just knowing it is there is special enough. You can see it at the very ends of the necklace in this example though.
As a beginner, it is a matter of trying lots of things and finding what looks good and what doesn't. Slowly discovering better, quicker ways to do some things. This is a leisure activity so I'm in no rush to learn too fast.

Monday 18 March 2013

Suppliers of kumihimo findings

Finding the right supplier to meet your needs

With a bit of luck, now that you have seen what can be done with hair from a horse's tail, you will have started to want to have a go yourself.

To start out all you need is a kumihimo disk. These are available internationally and are relatively easy to find. Mine came from the US, before I found a UK supplier. In America, kumihimo is quite popular. It really is a wonder why it is not as popular in Europe.

If you are in the UK, a good supplier is the Bead Shop in Manchester.

http://www.the-beadshop.co.uk/

For findings and beads Robin's beads is a place to find different sizes of end caps for your work.

http://www.robins-beads.co.uk/

I have used many different suppliers in just a few months but the two above are enough to get you started.

There are plenty of good videos on the internet to show you how to use a kumihimo disk. There is a great starter book called "Beautiful Braiding Made Easy: Using Kumihimo Disks and Plates" by  Helen Deighan. It is a little childish in its presentation but there are a lot of tips and patterns to follow.

Wherever you are in the world, with the internet you can easily locate the items you need.

When I find a supplier I like I make sure I save the website details. Some findings are hard to find and you won't want to lose the details of the supplier of an item you really like.

If you have been interested in the bog so far and have any questions about any of my posts please feel free to ask. I still consider myself to be a learner but will hopefully be able to answer queries and  ultimately encourage many of you to give bracelet making a go yourself.


Friday 15 March 2013

Using Beads in the Horsehair Bracelet

In summer 2012, I first started to make bracelets from horse tail hair using the kumihimo technique. Once you master the basics, it can become a really satisfying thing to do.

If you are interested in trying to make something for yourself, you could watch a training video online such as the one from Beadaholique in the US

For me, kumihimo gives you the best results with horse hair.


The video gives you a really good idea of the basic technique on an 8 warp bracelet. When using horse tail hair I use 16 warps (group of hairs) for bracelets and 8 warp for necklaces and bracelets when beading.

Find other pattern posts here

8 warp bracelet with slate coloured seed beads


Still using horse hair I used three hairs per warp. That is 8x3 = 24 hairs approximately 50cm in length. All the hair is sorted after washing and placed in position on the kumihimo disk. The beads (in this case size 6 seed beads) are threaded in the chosen order.

Very quickly, as you work around the disk, the bracelet emerges.

Here is one I finished today.


Wednesday 6 February 2013

At last, the finished bracelet

This week the clasps arrived so that the bracelet for my teenage daughter could be completed. In the end I used the kumihimo braid. An 8 warp braid using three strands of horse hair in each. Threaded onto the warps were black magnetic beads and colourful blue beads.

Inter-twined with the kumihimo braid was some cord and bead. This was then fastened with Silversilk brass ends and finally a brass toggle clasp completed the design.

Here is the finished bracelet.
It was an experiment,to use Silversilk ends because they are intended for use with Silversilk knitted wire.


Sunday 3 February 2013

A Necklace 'First' for Me!

While I wait for supplies to arrive so I can finish the latest bracelet, more beads did arrive today. I have wanted to make another necklace and today was the day for it.

To make a necklace I needed to use some very long lengths of tail hair. The length was about one metre. Again this was a simple 8 warp kumihimo design using 3 strands of horse hair per warp.

I used a subtle mix of miyuki beads in the braid plus some champagne beads. The little miyuki beads take patience to thread but the end result is really quite stunning for a first try.

Tuesday 1 January 2013

New Year, New Design

In Celebration of a Partnership....

Happy New Year to you all!

I am packed and ready to work away for a while. With me I am taking more hair from our lovely Fell Pony Drifter. No worries, he can spare it. I have a plan to work on a design that has been in my head for a couple of months. It is for a bracelet for my daughter, who has grown up with Drifter.

The design is partly her idea and partly what I think is possible using kumihimo. I am going to need to place an order for a couple of ends but if it all works out, it will look absolutely lovely and unique.

As I mentioned earlier, this whole project grew out of a desire to create something from my pony now, while he is still around. It seemed both natural and special to make a bracelet or necklace from some tail hair. Ancient tribes around the world have used animal hair for thousands of years, to make items for daily use or high status items to wear and show off.

My daughter and I have had our Fell Pony Quarryhouse Drifter for many years, since he was just six.

Over the years he has developed into a smart and willing partner. His jumping days are over now but he and my daughter spent hours jumping together often with nothing more than a rope halter.

And so, this particular bracelet project is going to be very special indeed. Later on, I hope to show you the end result.